
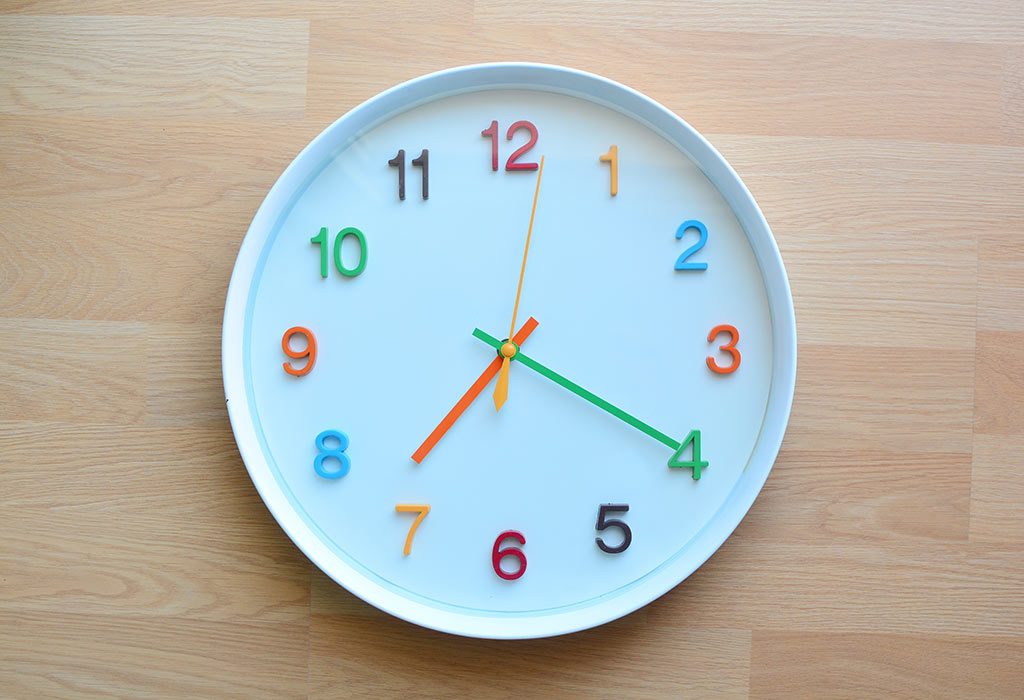
Making their clock is a great way to get your children interested in learning how to tell time. While you sit with your children and help them make their clocks, you can also teach them how to read time.
10 Amazing Clock Making Ideas for Kids
Here are ten great ways on how to make wall clocks for kids.
1. Paper Plate Clock
This is a simple idea but can get great results.
What You Will Need
- White paper plate
- Sketch Pens
- Blue construction paper
- Scissors
- Tack Pin
- Crayons
How To Make
Write down the 12 numbers of the clock on the face of the paper plate. Give your child sketch pens and ask them to write down the numbers on the marks. They can then use the crayons to colour the face of the plate. Draw one small arrow and one big arrow on the blue construction paper and help your child cut them out. Use a tack pin to stick the ends of the arrows in the centre on the plate.
2. Car Clock
Let your kid make his clock using cars for you.
What You Will Need
- 12 toy cars
- Cardboard sheet
- Sketch Pens
- Old clock
- Glue gun
How To Make
Take an old clock and remove the battery powered movement and the hands. Take a large cardboard sheet and draw a circle of 15-inch diameter. Cut out the circle and place the toy cars in the position of the numbers of a clock. You can choose your child’s favourite car to mark bed time. Use the glue gun to paste the cars on the outer edge of the cardboard sheet. Attach the battery movement and hands to the centre of the sheet. Let your child decorate the face of the clock with sketch pens.
3. Colour Wheel Clock
A colourful clock perfect for kids.
What You Will Need
- Square canvas
- Acrylic paints – red, blue, and yellow
- Brushes
- Paint palette
- Clock mechanism
- Black marker
- Scale
How To Make
Divide the canvas into 12 sectors using a black marker and scale. Explain the concept of the colour wheel to your child. Essentially, there are three primary colours- blue, red, and yellow. When you start to mix these colours, you get secondary colours that they are familiar with. For example, when blue and red are mixed, you get purple. When blue and yellow are mixed, you get green, and when you mix red and yellow, you get orange. Paint the first sector yellow, the fifth sector red, and the ninth sector blue with the acrylic paints. Use the paint palette and mix the colours to derive secondary colours. Paint these colours in the sectors between the primary colours. You can also refer to a colour wheel. Leave the canvas on a terrace or balcony to dry. Once dry, fix the clock mechanism to the centre of the canvas and use the marker to write the number on the edge of the clock.

4. Candy Stick Clock
This can be a favourite of the kids, as they may end up getting a few candies out of it too.
What You Will Need
- 12 ice cream candy sticks
- White construction paper
- Scissors
- Glue
- Clock mechanism
- Watercolour Paints
- Cardboard sheet
How To Make
Draw a circle of 10-inch diameter on the cardboard sheet and cut it out. Paste the construction sheet on the cardboard and cut out the excess. In a large tub, mix two mugs of water with watercolour paints in a colour that your child likes. Place the candy stick in the coloured water for a few hours. Cut out twelve 2 inch diameter circles from the remaining construction paper and colour them the same colour as the sticks. Write the numbers of the clock on these circles and leave to dry along with the candy sticks. Glue the dried sticks onto the surface of the cardboard sheet radially. Then, glue the numbered circles at the ends of the candy sticks. Attach the clock mechanism along with the clock hands at the centre of the cardboard sheet.
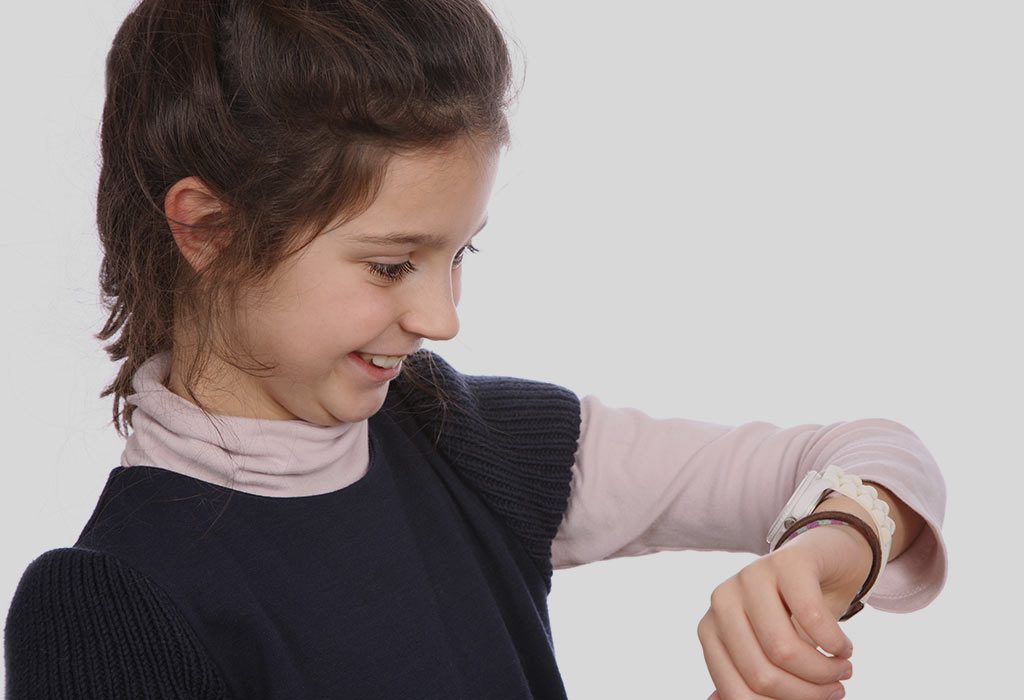
5. Wrist Watch Clock
Help your kid make his own watch.
What You Will Need
- Brown construction paper
- Brightly coloured construction paper
- Embellishments
- Sketch Pens
- Glue
- Scissors
- Velcro strip
- Eyelet
How To Make
Measure your child’s wrist and cut out a thick band from the brown construction paper such that it will go around your child’s wrist. Paste the two sides of the Velcro on each end of the paper. Use the brightly coloured construction papers to make a wrist watch dial and hands. Make sure that the hands are a contrasting colour to the dial. Mark the numbers on the dial with the sketch pens. Place the dial and the hands together and secure with an eyelet. Paste the dial onto the brown wristband. Glue on the embellishments along the band. Use the Velcro to fasten the ‘watch’ onto your child’s wrist.
6. Activities Clock
Help them track activities in a fun way.
What You Will Need
- Construction paper
- Drawing Pens
- Glue
- Clock mechanism
- Colouring pencils
How To Make
Cut out an 8-inch diameter circle from the construction paper and write down the clock numbers. This is the face of the clock. Mark a few activities that your child does during the day such as snacking, eating, playtime, brushing her teeth, reading time, quiet time and sleeping. Cut out two-inch diameter circles from the remaining paper and make illustrations of the activities on these smaller circles. Paste these illustrations along the circumference of the face of the clock. Make sure that the illustrations correspond to approximately the time your child does those activities. So, bedtime can be around eight while play time can be around 4. Attach the clock mechanism and hands to the centre of the dial.
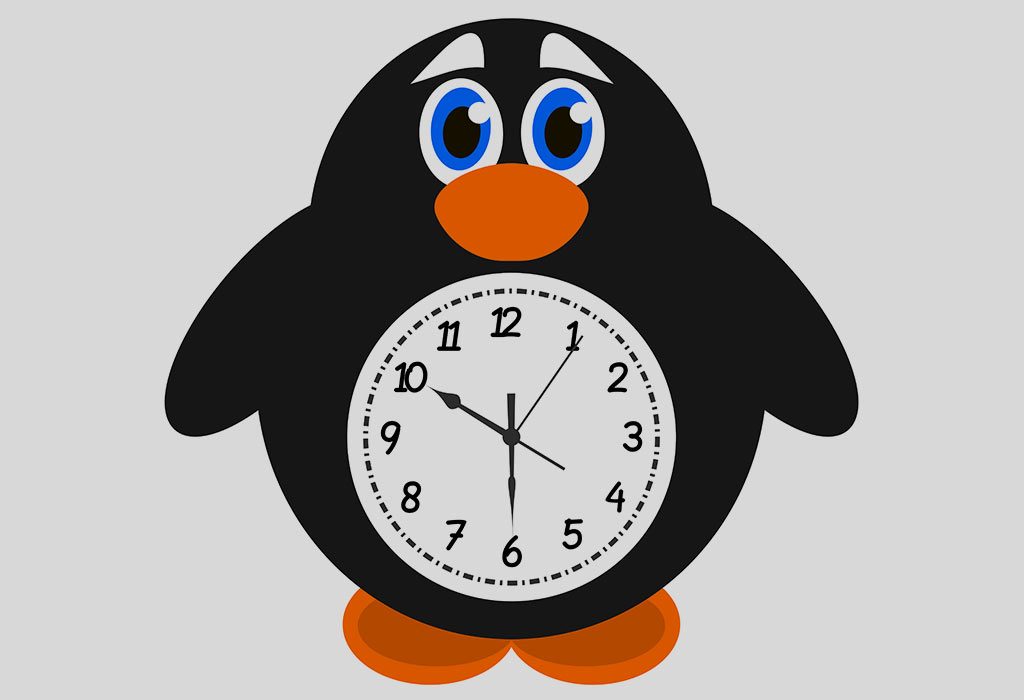
7. Penguin Clock
A cartoon-clock can get any kid excited to learn time.
What You Will Need
- Construction paper – black, white, orange, and blue
- Sketch Pens
- Clock mechanism
- Glue
How To Make
Cut out the shape of a penguin from the black construction paper. Use the white paper to make the penguin’s eyes and hands. Use the orange paper to make its beak and the blue paper to make a bow tie. Cut a 6-inch diameter circle from the white paper and stick it on the belly of the penguin. Mark the numbers of the clock on the white circle and attach the clock mechanism to the centre of the circle.
8. Face Clock
Another interesting clock idea that calls for creativity.
What You Will Need
- Cardboard sheet
- Construction paper
- Glue
- Sketch Pens
- Clock mechanism
How To Make
Draw and cut a 10-inch diameter circle from the cardboard sheet. Mark the shapes of eyes, a nose, and a mouth from the construction paper and cut them out. You can use brightly coloured paper. Stick these on to the cardboard circle to form a face. Write down the numbers of the clock on the edge of the circle. Attach the clock mechanism and hands at the centre of the circle.
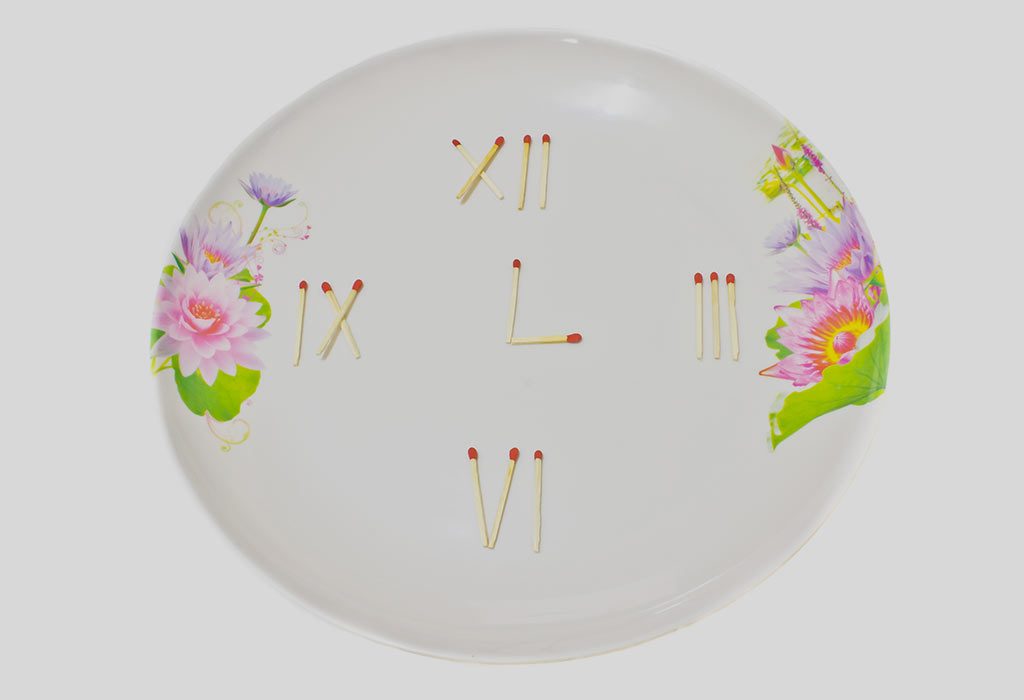
9. Matchstick Clock
A household item, matchstick can be used for crafts like these too.
What You Will Need
- Matchsticks
- Cardboard sheet
- Glue
- Clock mechanism
How To Make
Draw and cut a 12-inch diameter circle from the cardboard sheet. Use the matchsticks to form Roman numerals for the clock face. You can omit a few numbers as long as 12, 3, 6, and nine are marked. Paste the numerals at the correct position on the sheet. Attach the clock mechanism and hands at the centre of the circle.
10. CD Clock
Put those old CDs to use.
What You Will Need
- Old CD
- Construction paper – two clours
- Sketch Pen
- Clock mechanism
- Glue
How To Make
Draw a twelve-petal flower on the construction paper. Make sure it is larger than the CD. Stick the CD at the centre of this flower. Cut out 12 circles and write the clock numbers. Stick the circles at the correct place, one for each petal. Attach the clock mechanism and hands at the centre of the CD.
This clock project for kids will boost creativity in kids and encourage them to think of new ideas.


